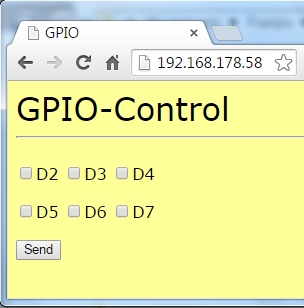
Today’s project permits simple control of the digital pins D2-D7 per website. The status of the respective pin is also presented on the website, so that you will never lose the overview.
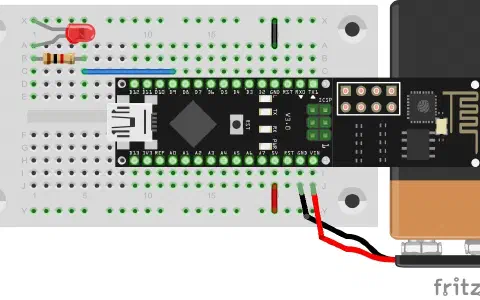
To review the condition of the pin well, a setup as in the following figure is recommended. Both the RGB-LED and the regular LED are used. The cathodes of the LEDs are now not connected to the long ground line on the outside of the board, but are also at a digital output. Only when these pins are switched low can the LEDs light up.
Today’s calendar component is another cable. This permits keeping the LED off the board. You can now install the board in a housing, for example, and put the LED outside.
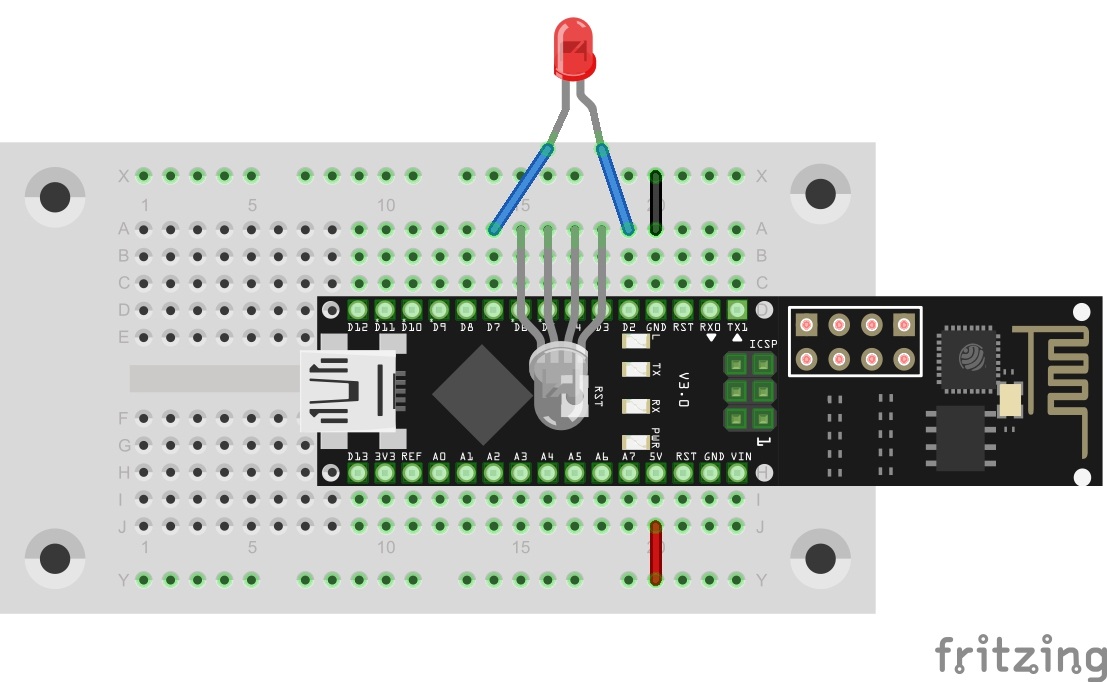
Attention! LEDs must not be connected without dropping resistors. In this case it is permitted due to the On resistors of the internal port FETs of approx. 30 Ohm. Because the LEDs are placed between two ports, they actually work with a dropping resistor of 60 Ohm. Depending on LED type and colour, an LED current between 15 mA and 30 mA at most occurs. This is still permitted.
The program: Day16_TCPServerGPIO
The website of today’s program uses check boxes as an HTML element. When you upload the program and call the page of the board, you can see a number of boxes that can be clicked. A check mark in a box means that the pin is high. No check mark means low. You can now try out which pins need to be high and which ones need to be low for all LEDs to be lit.

Sollte ich was unerwartetes verpassen, lasst es mich wissen ;-)